If you watched yesterday's video, you already saw this tag featuring the Kane Hula Dancer. Both of these images were colored up using my copics and added to these simple tags. Since the sentiments I had were too big for the tag and image to fit nicely, I opted for using the sentiments I had printed on the computer. Sometimes it's nice to have tags already made in your stash that you can just pop on a card or attach to a gift. I actually had Merrie Monarch in mind when I made these. I thought they could be attached to leis that are often given after a performance to the dancers.
This hula girl is so cute! Her costume can be for either kahiko (traditional) style or auwana (modern) style of hula. I also like that this set contained the uli uli instruments that are often used in performances. Oh how it brings back so many memories of when I used to dance hula. I remember all the feathers used to come off as we were dancing. I went with a simple look again with the watercolors, but added in the uli ulis to help fill up the blank space.
I really like how this card came out... Since there's a lot of empty space, I started digging into my die stash. I'm so glad I bought tropical flowers and foilage dies whenever I found them. And I'm even more glad that I didn't sell them! The fern die is an old Island Scrapbooking die that you can't get anymore. I paired it with some small plumeria flowers from a Mintopia flower set. Who knew Mintopia would make tropical flowers! The size was perfect for the fern. The sentiment is part of the stamp set. In Hawaii, we say "A Hui Hou" (till we meet again) instead of goodbye. I feel it gives you hope that you will see each other again- even if it's not in the immediate future.
Don't forget to visit my channel to watch today's video and enter to win one of two stamp sets from this release!
I'll be picking winners soon! And I keep forgetting to mention that if you go to the Italian site, you can change the language to English if you don't understand Italian (duh)... then you can see other images my sister created that are not featured in the Sister Stamps line! You can check them out here: Impronte D'Autore. And visit Hanko to order stamps in the US (Psssst, he also posted a pre-order for the next relase if you want to peek!)
So I have a confession to make.. its been quite awhile since I've blogged. I even forgot how to get into my account and posted on the wrong page! This re-launch of Sister Stamps has forced me to get back to blogging and re-learn how to do posts, etc. Its amazing how quickly you can forget something! Its not even that hard to do, but I had to re-think how to upload images etc.
So now that you've had a good laugh.... let's meet another new image. This handsome buggah is the newest addition to the family and it features a male hula dancer! Just in time for Merrie Monarch! On the big island, where I'm from, we host the Merrie Monarch Festival, where hula halaus from around the world come to compete in a hula competition. There are several categories in the competition, including Kane (male) categories featuring Kahiko, or more traditional hula style, or Auwana, which is more of the modern style. Our stamp is dressed in more traditional kahiko style costume, complete with the haku and wristlets. For both cards, I tried watercoloring again and utilized the extras in the stamp set to create backgrounds. Its not easy these days to find Hawaiian print papers, so its great that the set includes these options.
I kept it very simple since I felt like it matches the image better. Sometimes a simple, one layer card is best. Please check back tomorrow for our last image introduction! And don't forget to visit my Youtube channel and leave a comment for a chance to win one of two stamp sets from this release (US only please).
I hope everyone is enjoying the release so far! Today I'm featuring one of the new images! Isn't she so cute? I really love her pose and expression. You really know she is so happy!! Whether she is playing with the birds or just by herself, you know she's having a good time. It reminds me of when we were growing up and would chase the birds at the park until they flew away. Kids now days don't know the joy of chasing birds since they are always on their phones!!
So my first card captures the memory of the joy of playing at the park. The set even comes with the Joy kanji sentiment that can be used with your image.
This next card was done with my copics- although its hard to do the shading on the hair, I still like how it comes out. This time, I paired the image with a washi paper background and a larger kanji die cut that means Happy Birthday.
My final card share pairs the little girl with a busier washi paper. Since the background had so much going on, I decided to cut the kanji in black so it could stand out on the busy background. The kanji means "double happiness", which this little girl is definitely feeling!
Thanks again for joining me here on the blog. Please remember to visit my youtube channel and enter to win one of two sets of the new release! (US only please). You can watch the video here:
And don't forget to come back again tomorrow to see the new hula image!
Welcome back to more re-relase goodness! I have to admit that I totally forgot what this stamp's name is! Yikes! I feel like a bad parent. I actually had to go into the archives of this blog to see that her name is Miyoko! How could I forget?? I named her after my best friend!! We met in 7th grade and are still BFF's till today! I'm so grateful to have such a good friend after all these years and I'm so happy that they decided to re-release this image! It's like seeing an old friend again!
OK back to the cards. As mentioned in yesterday's post... I started out trying to watercolor the images. I actually really like how everything came out on this first card, except for her hair. I think I still like the way the hair comes out using the copic markers, but I really like the blending on the parasol and the sentiment! Speaking of parasol.... I wanted to feature all of the different images included in this set! The original stamp had Miyoko holding a cupcake since it was our birthday release. Since then, my sister removed the cupcake and added in other images that you could swap out and make her hold instead. I wanted to show you all the options this gives since it let's you decide how you want to use the image!
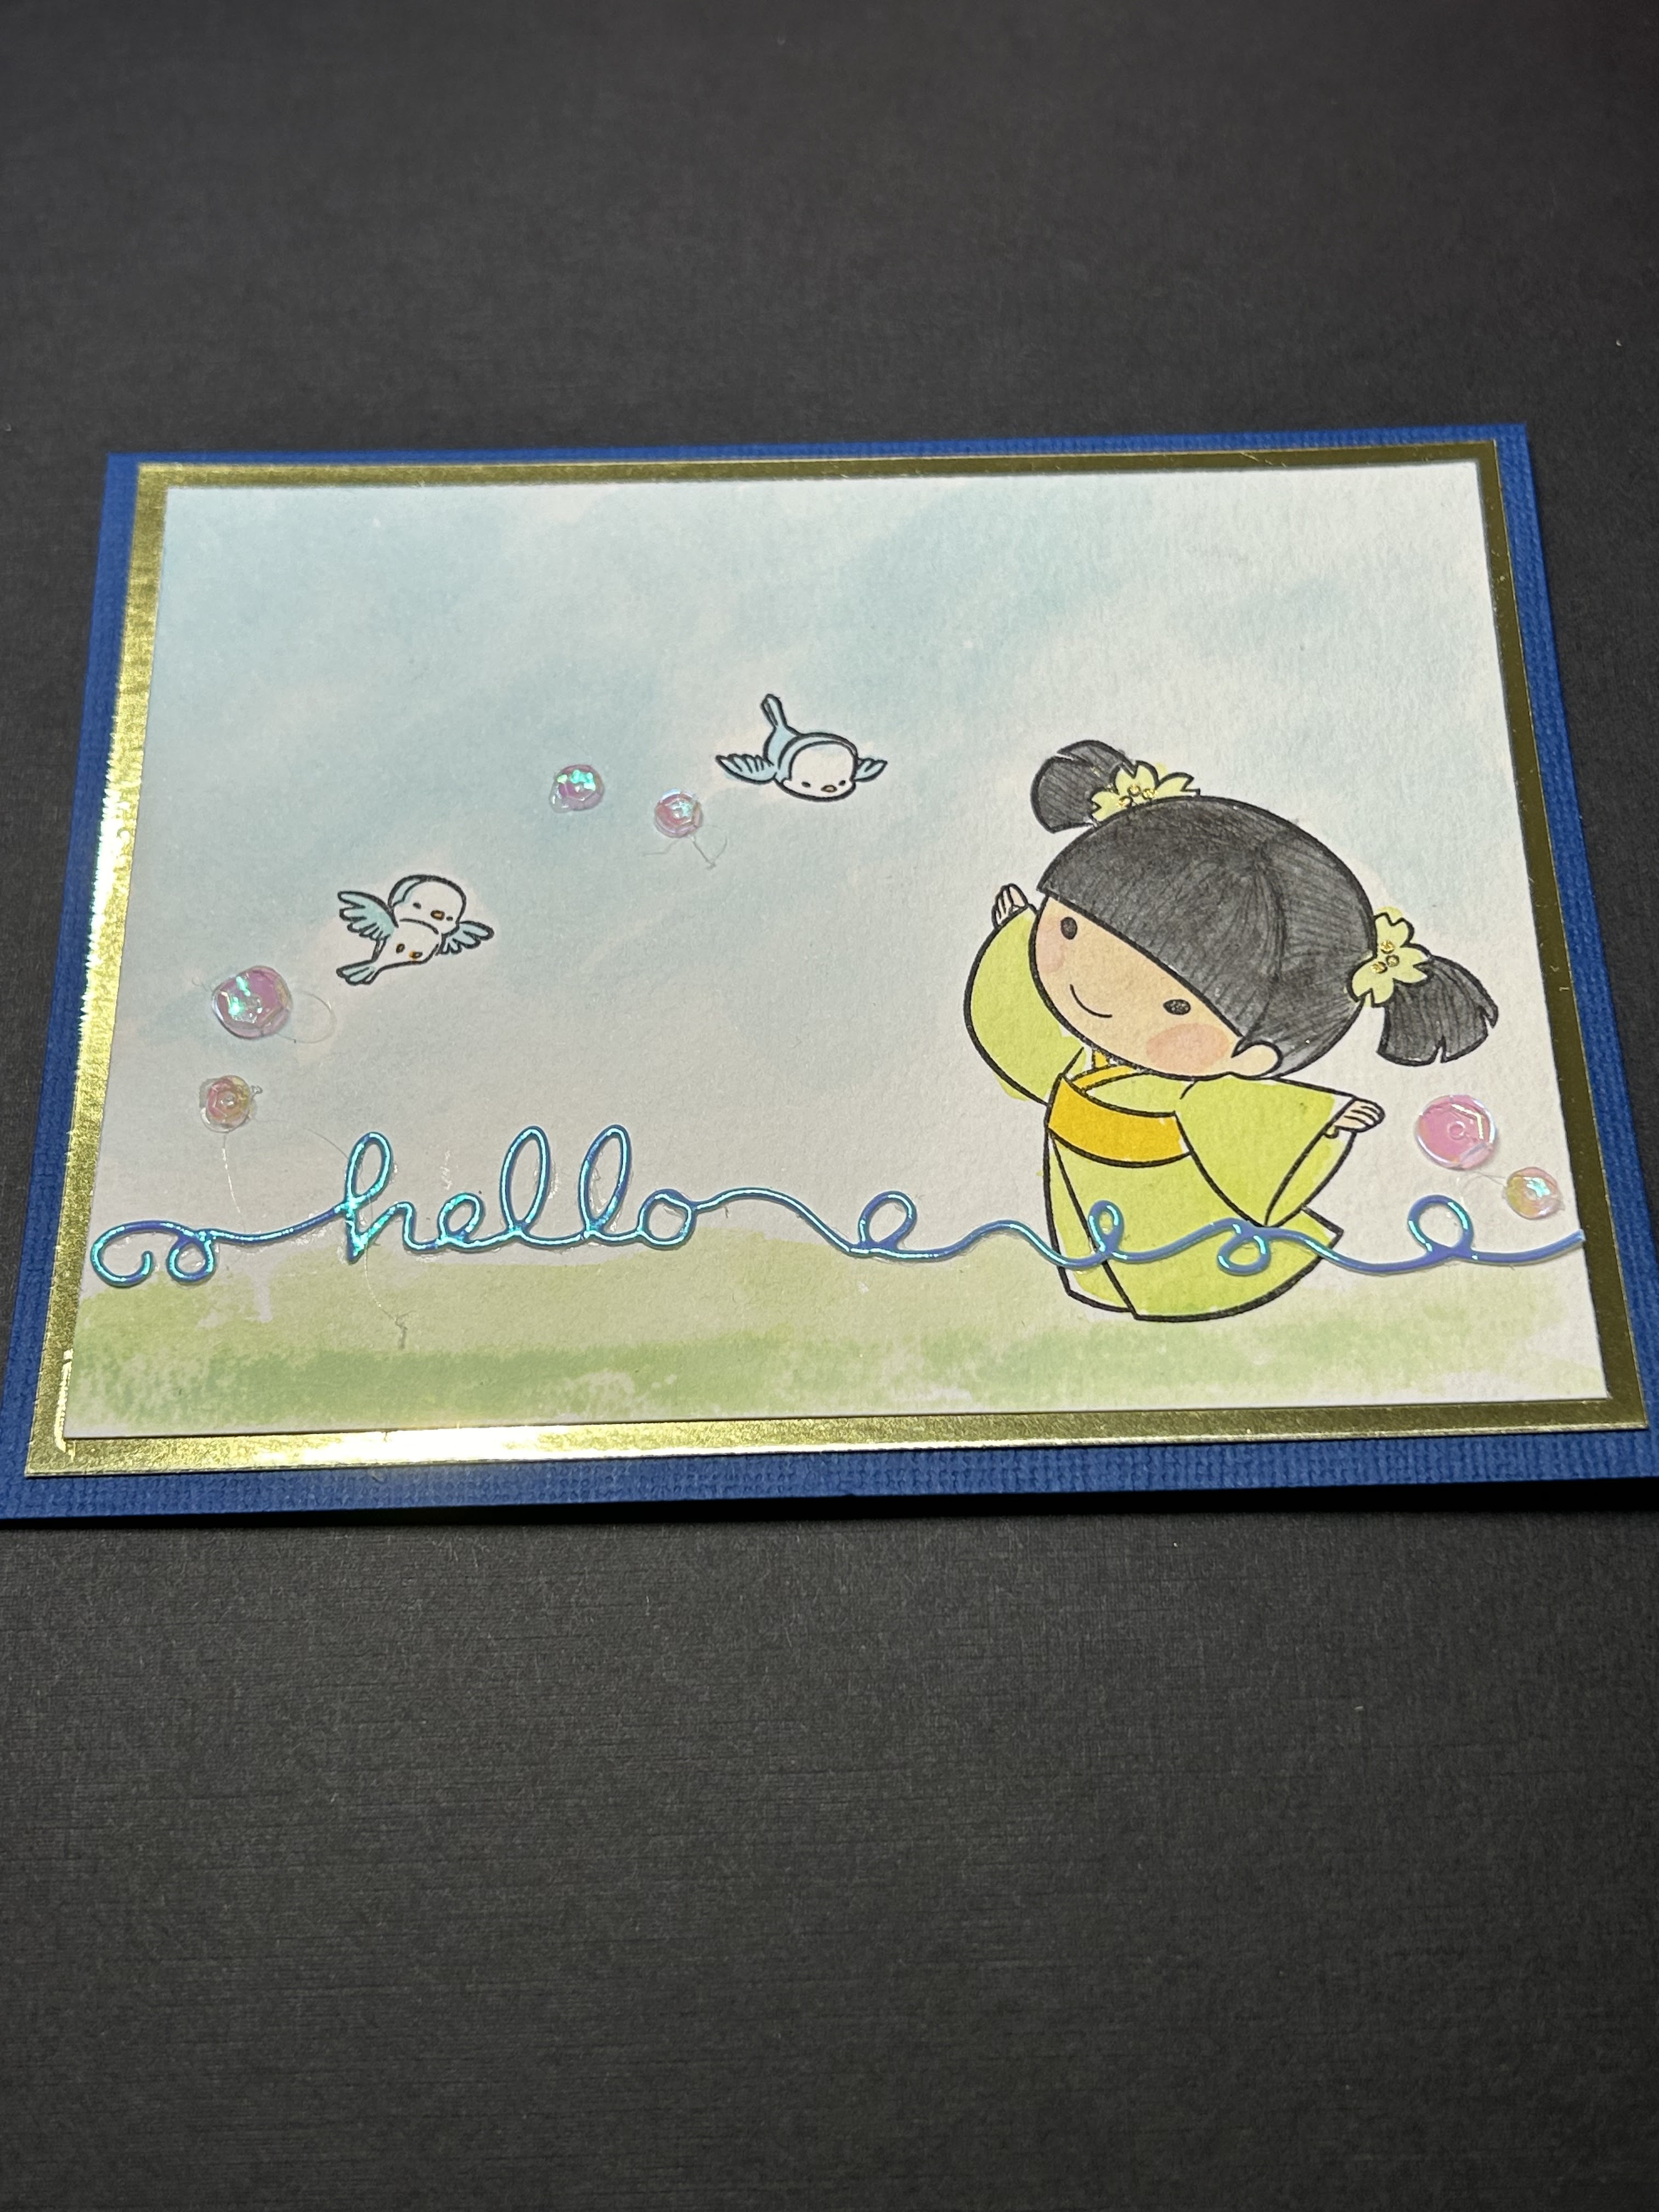
In this first card, I added in the parasol and made it look like she was peeking out from behind it. You will need to cut out the parasol and then adhere it over her. In this card, I added some foam tape for dimension. I felt like there was too much white space, so I added in some flower sequins to fill it up.
This next card is also done in watercolor. I didn't want to place the sentiment going straight across the card, so I decided to make it diagonal and thought it added more interest and filled up the empty space. Before adhering it down, I watercolored a small area so that the word could be placed over it. I liked the result cause it added more color to the card. Then I went to my sequin stash and added in a butterfly and a trail of flowers. In this card, I made her holding the fan, which is another stamp in the set.
The next card is very similar in layout. I again added some watercolor behind the sentiment. Then added in some sequins around it. I chose the word celebrate since she's holding the cupcake- which was the original design. See how versatile this set is now?!
Ok now for the copic colored images. Look at the difference between the card above and the card below! I'm amazed how nice the hair comes out with the alcohol markers. On this card, I printed the sentiment on the computer and mounted it on washi paper. I again used stickles- this time I used Stardust, which is an iridescent glitter. It gives it just the right touch without taking away from the image or washi paper. Then I added in more flower senquins to fill the blank space. Love how this card came out compared to the watercolored ones.
I think this last card is my favorite.. probably because I love red washi paper. I had found these washi paper flowers that I had die cut awhile ago in my stash. I had made a similar background in a Valentine's Day card for my husband, and wanted to do something similar for this card. Since the washi flowers had a busy print, I decided to keep the sentiment simple by adding in one of my computer printed sentiment strips. In this card, she's holding a fan.
Please check out my video below featuring these projects. And don't forget to leave a comment on the video for a chance to win a set of the new release (US only please). Our previous post has links to the shops where you can order this release from. See you tomorrow!!
Are you as excited as I am? With the re-launch of Sister Stamps, we are happy to feature old favorites and new additions to the family! For everyone who missed out on getting our images when they were originally launched, you are in luck! Two of our old images are now available in the re-launch! Do you remember Kiyomi? Well, she's being released again, but this time as a clear stamp and with extra images that can be used with other Sister Stamps!
I must admit, I haven't been stamping or coloring images in a long time. In fact, I intentionally tried to not use my copic markers when stamping these images... I thought it would be much easier to stamp on water color and then paint them up using my distress inks. So the first three cards are just that... I created scenes using the stamps and watercolored them in. They came out OK, but I felt out of practice and not happy with the end result. So you may be asking why I'm sharing them here? I just want to share my journey back to stamping. Although I've been away from it for a bit, as I went through this process, I discovered that I really do enjoy stamping and coloring and I was able to re-teach myself how to use my pens again!! Woo Hoo!
So let's take a look at the first card. It's one of the watercolored ones. I wanted to feature the cute flying squirrels that are included in the set. The original cling Kiyomi set included a butterfly, but now you can pair her with the squirrels too! I added in some flower sequins from my stash to fill in some of the empty space... I think it came out better once I did that. Sorry, these photos are not great since the weather was pretty dark all day today. :(
This next card is very similar to the first... I created another scene using Kiyomi, but this time using the bird stamps that came in another set that will be featured soon. I like that you can mix and match the stamps and they all work well together! It needed someting to fill the blank space, so I added in clear iridescent sequins as accents.
This last watercolor card features the original butterfly that she was with when we released her as a cling stamp. The set also includes other images you can use for backgrounds.
And now you can see what I was talking about... Yes, I eventually caved and went back to using my copic markers. I dont't know why I resisted. I guess I thought I could make the watercolor ones as nice as my sister does when she paints on the computer... but I guess I should stick to what I know works (for me anyway). In this card, I printed the sentiment on the computer and mounted it on some scrap washi paper. It was still too much white space for my taste, so I added in the birds (again) from the other set and added a thin line of gold stickles around the border of the white cardstock. I think that little bit of stickles made a big difference. I don't think you can even see the stickles in this photo, but hopefully you will check out my video where you can see it better!
The hair always takes me the longest to do. I hope you can see it but when coloring up the hair, I always try to mimic the way the hair grows or the way it is combed. In this case, I added in lines where her hair is parted and pulled back into pigtails. I also left some white highlights on her bangs. Its more work, but I like the results.
I guess the biggest lesson I learned is that although it may seem like a lot of work in your mind, it really isn't so bad. And although you may be out of practice, it comes back and is probably not as hard as you think it will be! So if you are like me and haven't picked up a stamp or a copic in awhile, I encourage you to just do it. Its not as bad as you think!
Please check out my video... I have two sets of the new release to give away to someone in the US! All you need to do is leave a comment on the videos posted for this release and you'll be entered! Good Luck!
So if you haven't already ordered your stamps, you can get them here:
Hello Everyone! It's been a long time since I've posted here... you are probably wondering what happened to us? Well, long story short, life got busy. Sister Stamps was a fun project with my sister where we were able to share her creations with the crafting world. I've always felt that she had a special talent for storytelling through her images, and wanted the world to be able to enjoy her artwork as much as I do.
You may not know this, but my sister continued to design images for another company in Italy, who makes their own stamps. This company, Impronte D'Autore (stampin.it) will now be carrying the Sister Stamps images through their site! They are bringing back some of our old favorites, but as clear stamps!! Woo Hoo!! In addition to the old favorites, they will also be releasing some new images too! Stay tuned for more information. (I'm dying over the new stuff!)
And wait! It gets even better!!! I know those of us who live in the US would prefer to order domestically, so we are happy that Hanko Designs (hankodesigns.com) will also be carrying these images! In fact, you can pre-order the first release now!! Click here for pre-order information. The first release will be in March, and if you pre-order your stamps before the end of February, you can save 10% off your order.
So although I am no longer running Sister Stamps, I'm happy that they are coming back and will be available to all of you who are only discovering these images now. I'll be working on projects to share with you for each release, so I'd better start practicing my coloring skills again! So please come back soon to see all the new images as we re-introduce them to the crafting world!
I'll also be updating the Sister Stamps Facebook page again, so please follow us there. And hopefully I can get some videos made too!
I hope you all are just as excited as I am! I look forward to connecting with our old followers and hopefully make some new friends along the way!