Showing posts with label Kimie. Show all posts

Friday, February 28, 2014

Shabby Egg Carton

Yay!  It's almost release day!  That means soon you can go out and pick up our new images and start working on your Easter projects!
 
Just wanted to thank the amazing Jo from Paperdrama!  She is such an awesome crafter!  So glad I got to work with her on this release.. Thank you Jo!  Don't forget to check out her You Tube channel here...
 
And don't forget to check out Debi and Eva's blogs for more inspiration!
 
For my last project, I was totally inspired by Juliana's shabby chic egg cartons that she featured last Easter.  I guess I had that on the brain for about a year now and really wanted to make one for this release.  Check out Juliana's video here...  and you'll see why I wanted to make one!
 
First thing is we had to eat all the eggs!! Bwahahaha!  I'm joking, but not really.  Over the weekend, our mission was to use up all the eggs so I could use the egg carton. We ended up eating all but 2, so I just put them in a bowl and took the carton!
 
Then I painted it wit some gesso, then a coat of light antique white, which is like an off white color.  After the carton was painted, it was time to decorate!  I used some old jellybean paper by Doodlebug Designs as my background.  Then colored up Kimie and propped her up using pop dots.  Then more flowers by I Am Roses, Wild Orchid Crafts and Prima.


Here's a better look at Kimie...


And the flowers...


Around the edge of the carton, I glued on some pink chiffon pleated trim.  Then added some pearl flower trim in between.

When you open it up, here's what you'll see inside...


The inside cover has moon jumping into a bed of flowers.  Before I put anything down, I added some remnant cheese cloth. Its becoming my favorite shabby accessory on all my projects!


And a closer look at Jade.


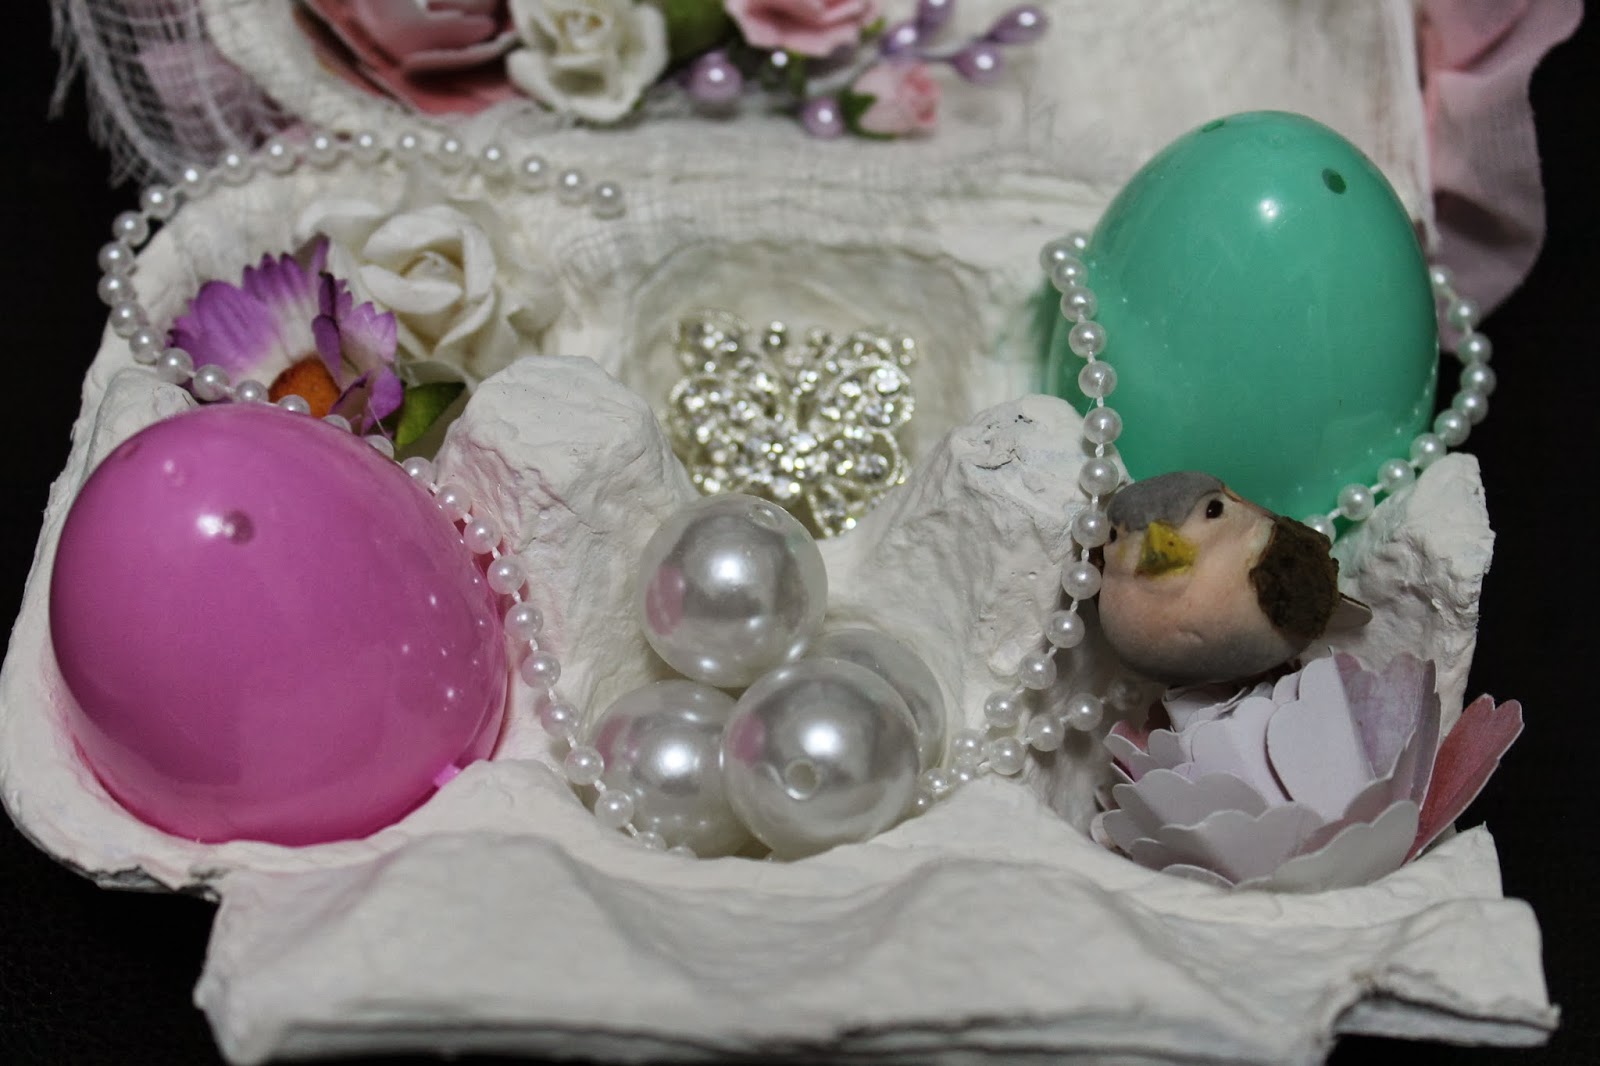
For each egg holder, I added some goodies.  Two plastic eggs where you could put more goodies, some flowers, butterfly bling, large pearls, and a strand of pearls.


This project was really fun to make and the good news is, I have the other half to play with!  Ready to go buy another carton of eggs so that I can make more!

Thanks again to all my designers for your great projects!! And thanks Jo for doing videos as well!

Thursday, February 27, 2014

A Sweet Surprise

Wowweeee!  Did you check out who our guest designer is?  Yes! It's none other than Jo of Paperdrama fame!  Just want to thank her for taking the time to make a coloring video using Kimie.  Yay!  So many people have asked me how to color up the images, but I have not made a video tutorial before, so I'm glad she decided to post one for all of us to learn from.  Thanks Jo!
 
Be sure to check out her blog and You Tube Channel for more inspiration!
 
And don't forget Debi and Eva will also have some fun projects to share!
 
So today's project features Kimie again.  I love her!  Her hair came out really cute.. I gotta tell my sis to make more hair like her's.  I started out using a regular A2 sized envelope.  I tend to have a lot of extra envelopes cause I use the base but don't often use the envelopes.  Many people have used the 6x6 size envelopes too, but I like this smaller size. 
 
All you do is score 1" at the bottom of the envelope. Fold on the score line, and then open up the envelope and fold the ends under to form a little bag.
 
 
To start, I cut a small strip of scrap paper by Simple Stories and adhered it around the treat holder.  Then I embellished it a bit with some heart pearl trim, some cheesecloth and a couple of white flowers from my stash. 


Then I added a Doodlebug doily to the background.  I left the doily sticking up as a background.  Then colored up Kimie and adhered to the doily.


Inside the treat holder I stuck some Easter grass and stuck a couple of eggs inside.


When you open the eggs, there's a surprise inside!


For whatever reason, bunnies coming out of eggs reminds me of the Cadbury bunny.  Bock bock bock!


Here's Jade and Moon popping out of the eggs.


Ya never know what will be inside your egg!  More Easter fun tomorrow, so don't forget to visit again tomorrow for more fun!

Monday, February 24, 2014

It's Kimie!

Hello!  Did ya like our first image?  Well, there's more bunnies to come, so stay tuned for more bunnyness. (I know that's not a word).

Next up is another girl playing with bunnies!  Kinda reminds me of our Akemi image, but since Akemi was taken, I had to think of another name for this little girl.  One name that I've always thought was nice and different was my friend's middle name, Kimie.  It's actually pronounced Ki-mi-eh.  Not Kimmie like it looks.

My good friend Kim and I used to work together at East West Center back when I was going to college. She was actually working full time and I was the student helper, but we quickly became friends and would go out together in our free time.  Sadly, my friend passed away very young, but I think of her every so often and laugh at the good times we had together.

One of the things I remember was asking her what her middle name was.  When she told me it was Kimie, I laughed and asked her.. for real?  Kim, Kimie?  So cute yah?  I love it!  It matched her too.  Such a sweet, soft spoken girl.  The other funny thing I remember about her is that when she got behind the wheel, she was like another person!  She drove like Cameron Diaz's character Kimmie from My Best Friend's Wedding.  One of my all time favorite movies!  If you haven't seen it before, you totally should!

But I digress... back to Kimie.

Just coming off of Valentine's Day, it was a bit hard to find any Easter themed stuff to play with.  Luckily, my Target started stocking Easter stuff this week, so I was able to pick up some fun stuff to play with.  So happy to find the plastic eggs!

I saw this post on pinterest and thought it would be a fun project to make using our images.  Here's what I came up with....


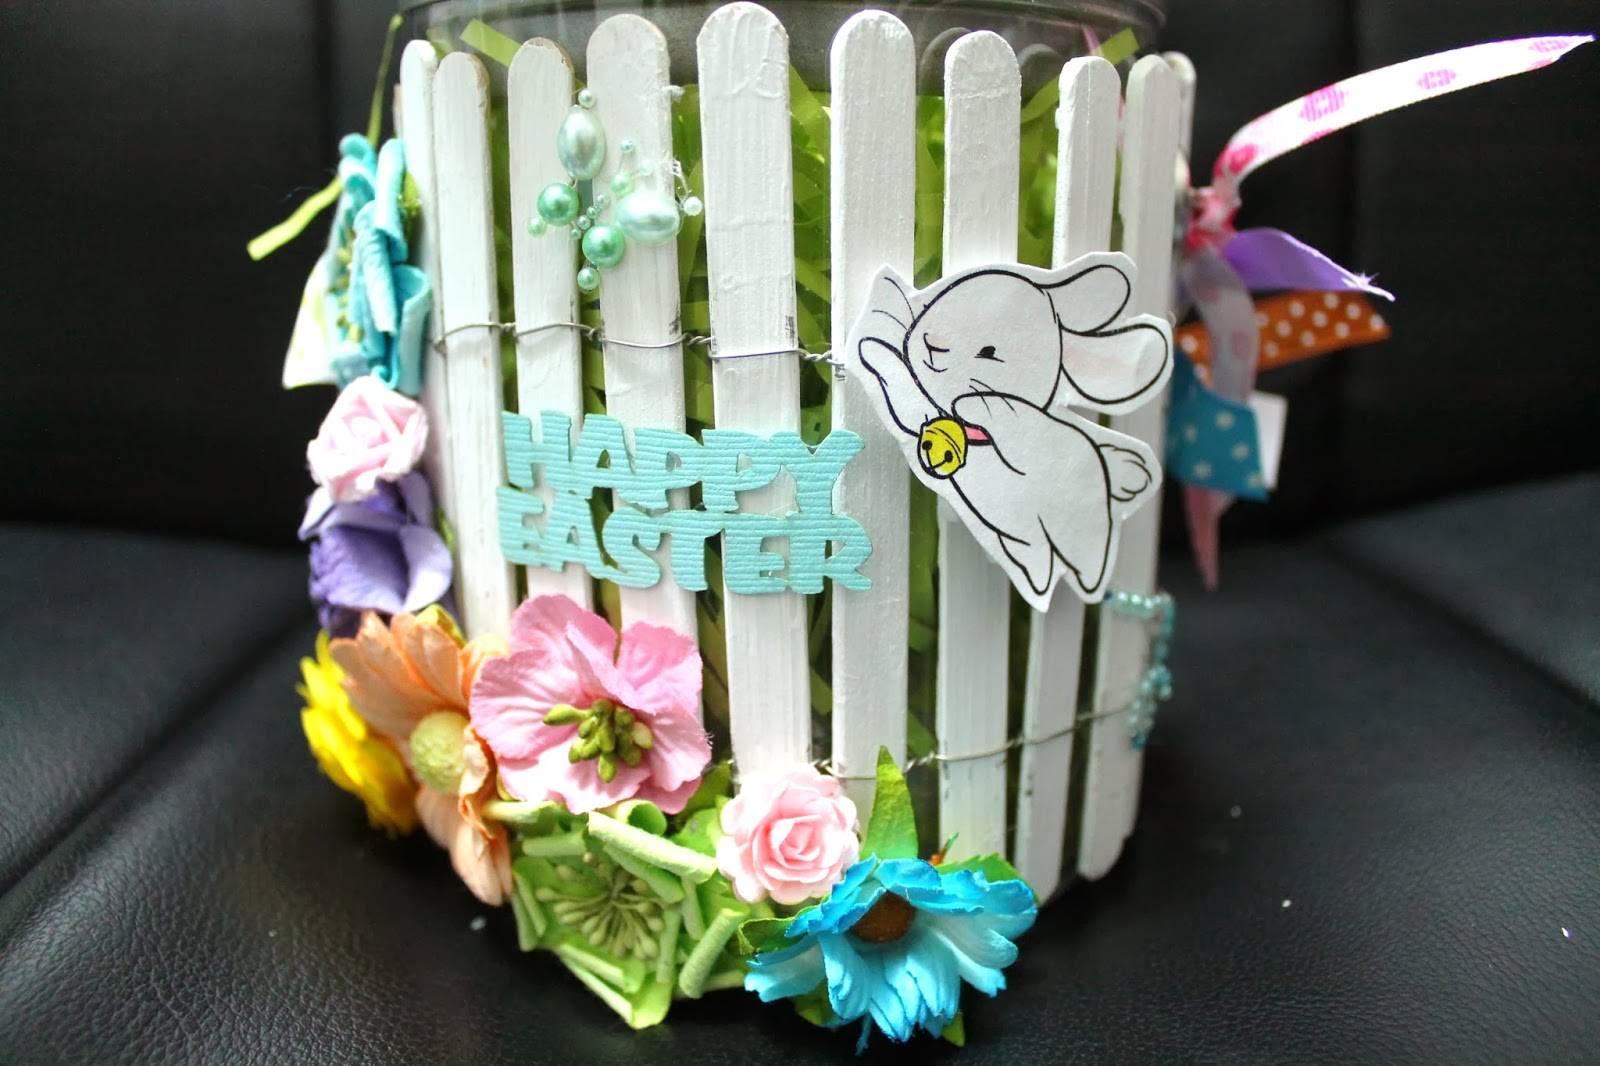
It's a Easter Bouquet!  Let me just say, this project did take me awhile to make, but once I had the vision I couldn't stop.  The first thing I had to do was paint popsicle sticks white to make my picket fence.  I've seen a bunch of tutorials on how to make a picket fence but I've never made one myself.  Frankly I forget what the tutorials said, so I just winged it.

After their paint job, I used some wire and connected them together.  That was not as easy as it sounds.  After I got it to stay, I glued it onto a clear pail, but had to be careful as the pail might melt, so had to use my glue gun that is not as hot as my favorite one.  Once I got the fence on, I was able to start decorating.  Here's an array of flowers from my stash.  Since I took them all out of their packaging, I'm not sure where I got them from.  I know some are by Prima, Wild Orchid Crafts, and I Am Roses, but not sure about the rest.


On the front of the pail, I added a Happy Easter Sentiment by Island Scrabooking, and a butterfly bing by Prima.  And do you see who else popped into the project to say hi!  It's our next image that you'll meet tomorrow.


Isn't he cute?


To decorate the pail handle, I tied a bunch of ribbons to it.  I like the fun look it gives the pail.


Inside the pail I cut a styrofoam ball in half and trimmed it down so that it fit into the pail.  Then added some Easter grass to cover up the styrofoam ball.  Oh yes... and you might be wondering how I got the plastic eggs on the BBQ skewers?  Well, not sure why, but nowadays plastic eggs have holes!  The tutorial shows you that you just stick the skewer into the hole in the egg and voila!  I just trimmed out some of the skewers so they would be at various heights around the image.


 To showcase Kimie, I made a rosette by cutting a strip and scoring it at every 1/4".  One of my "students" and craft fair buddy Susan taught me something in class the other day.  She said when she has to do this type of scoring, she scores first, then cuts the strip to the size she needs.  Genius!!! I followed her instructions and cut my strip at 3", then scored every 1/4", then cut that strip in half so I had two 1 1/2" strips.  Glued the ends together and formed the circle, then adhered a circle over it.  Flipped it over and added Kimie to the front.  Waaaaayyy less work than cutting two 1 1/2" strips and scoring it twice!  I love getting tips from other crafters! It's all about working smarter!


If you would like a chance to win a Kimie stamp here's all you have to do:
1)  Leave a comment on THIS POST by 02/28/14 11:59pm HST; and
2)  Share a time saving crafting tip to share with your fellow Sister Stampers out there!  Oooh can't wait to hear!

Saturday, February 22, 2014

Release #21 Already?

YES!  Can't believe its almost time for our next release!  And can you guess what up next?


That's right!  New bunnies to add to your collection!  Just in time for Easter, but let's be honest, you can use these little guys anytime of year.  Be back to introduce them to ya'll!